Treatment process
Conservation Timeline
A chronological conservation narrative built from KIK-IRPA figure documentation: before treatment, cleaning tests, UV control, cleaning, filling, inpainting, reverse-side treatment record, after-treatment condition and framed presentation.
- Steps
- 12
- Source
- KIK-IRPA
- Mode
- Process timeline
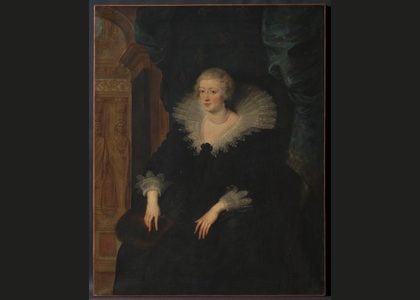
Fig. 88. Painting before treatment
Before treatment
Baseline condition record before conservation intervention, useful for reading surface condition, losses and later treatment decisions.
- Source
- KIK-IRPA conservation documentation
- Reference
- fig. 88
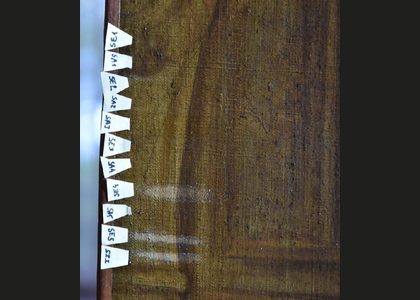
Fig. 90. Cleaning tests in normal light
Cleaning tests
Solubility and cleaning tests establish a controlled treatment protocol before broader intervention on the paint surface.
- Source
- KIK-IRPA conservation documentation
- Reference
- figs. 90, 92
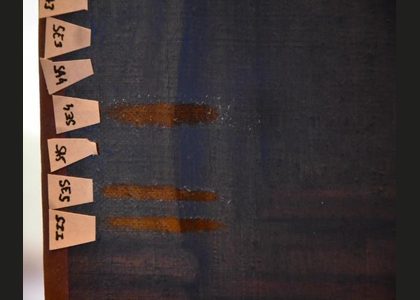
Fig. 90. Cleaning tests in UV light
Cleaning tests in UV
UV control helps separate varnish, retouching and treatment response from the original painted surface.
- Source
- KIK-IRPA conservation documentation
- Reference
- fig. 90
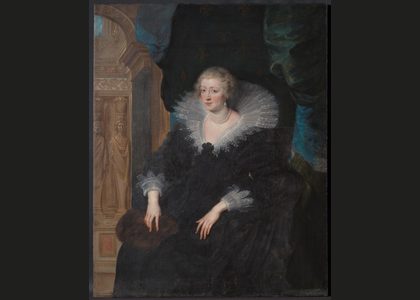
Fig. 96. Painting during cleaning
During cleaning
Intermediate documentation records the painting while the cleaning campaign is in progress.
- Source
- KIK-IRPA conservation documentation
- Reference
- fig. 96
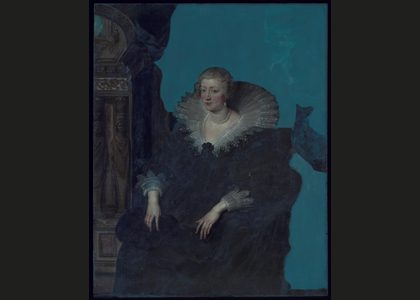
Fig. 97. Painting during cleaning. The UV fluorescence photograph
During cleaning in UV
UV fluorescence during cleaning documents remaining coatings, treated zones and conservation progress.
- Source
- KIK-IRPA conservation documentation
- Reference
- fig. 97
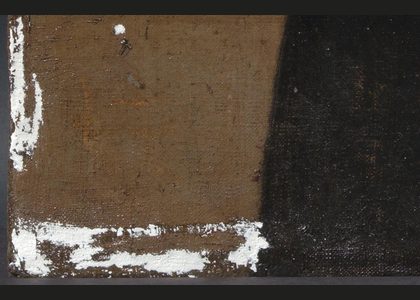
Fig. 100. Textured fillings
Textured fillings
The filling stage prepares losses for visual reintegration while preserving the distinction between original paint and treatment material.
- Source
- KIK-IRPA conservation documentation
- Reference
- fig. 100
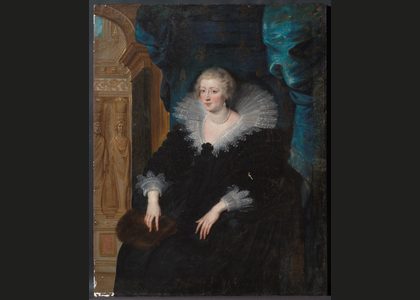
Fig. 101. Painting after cleaning and filling
After cleaning and filling
Full-view documentation after cleaning and filling provides a stable point before final inpainting and presentation.
- Source
- KIK-IRPA conservation documentation
- Reference
- fig. 101
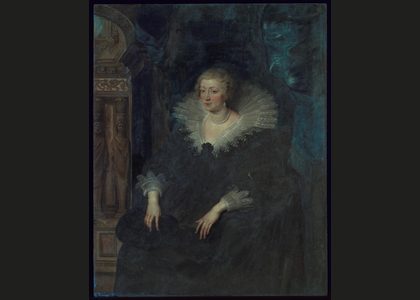
Fig. 102. Painting after cleaning and filling in UV.
After cleaning and filling in UV
UV documentation after cleaning and filling confirms the treatment map and helps identify zones requiring final integration.
- Source
- KIK-IRPA conservation documentation
- Reference
- fig. 102
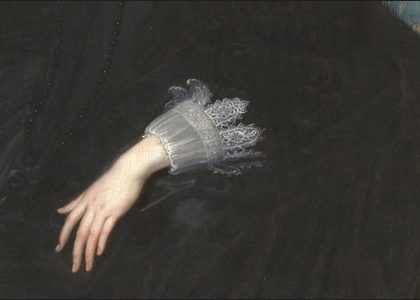
Fig. 103.b Detail of the dress after inpainting
Inpainting control
Before/after inpainting details make the visual integration process explicit and preserve treatment transparency.
- Source
- KIK-IRPA conservation documentation
- Reference
- figs. 103a-b, 104a-b, 105-106
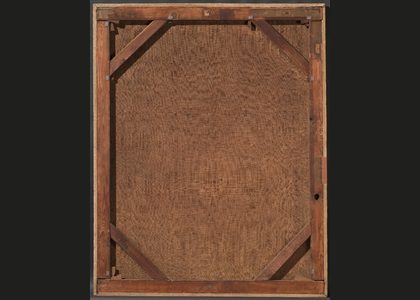
Fig. 108. Back of the painting after treatment
Back after treatment
Reverse-side documentation records support condition after treatment and separates structural history from the painted surface narrative.
- Source
- KIK-IRPA conservation documentation
- Reference
- fig. 108
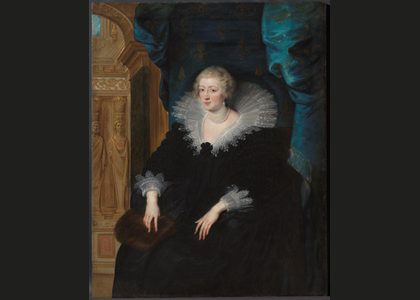
Fig. 110. Painting after treatment
After treatment
Final full-view documentation after conservation establishes the post-treatment reference image for the archive.
- Source
- KIK-IRPA conservation documentation
- Reference
- fig. 110
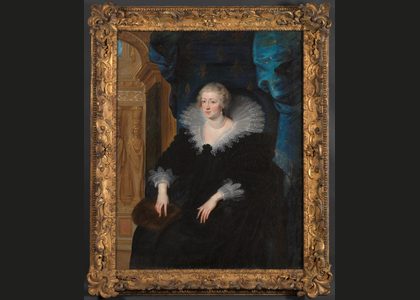
Fig. 111. Painting in its frame after treatment
Framed presentation
The framed post-treatment image closes the process narrative and documents the work in its presentation state.
- Source
- KIK-IRPA conservation documentation
- Reference
- fig. 111